
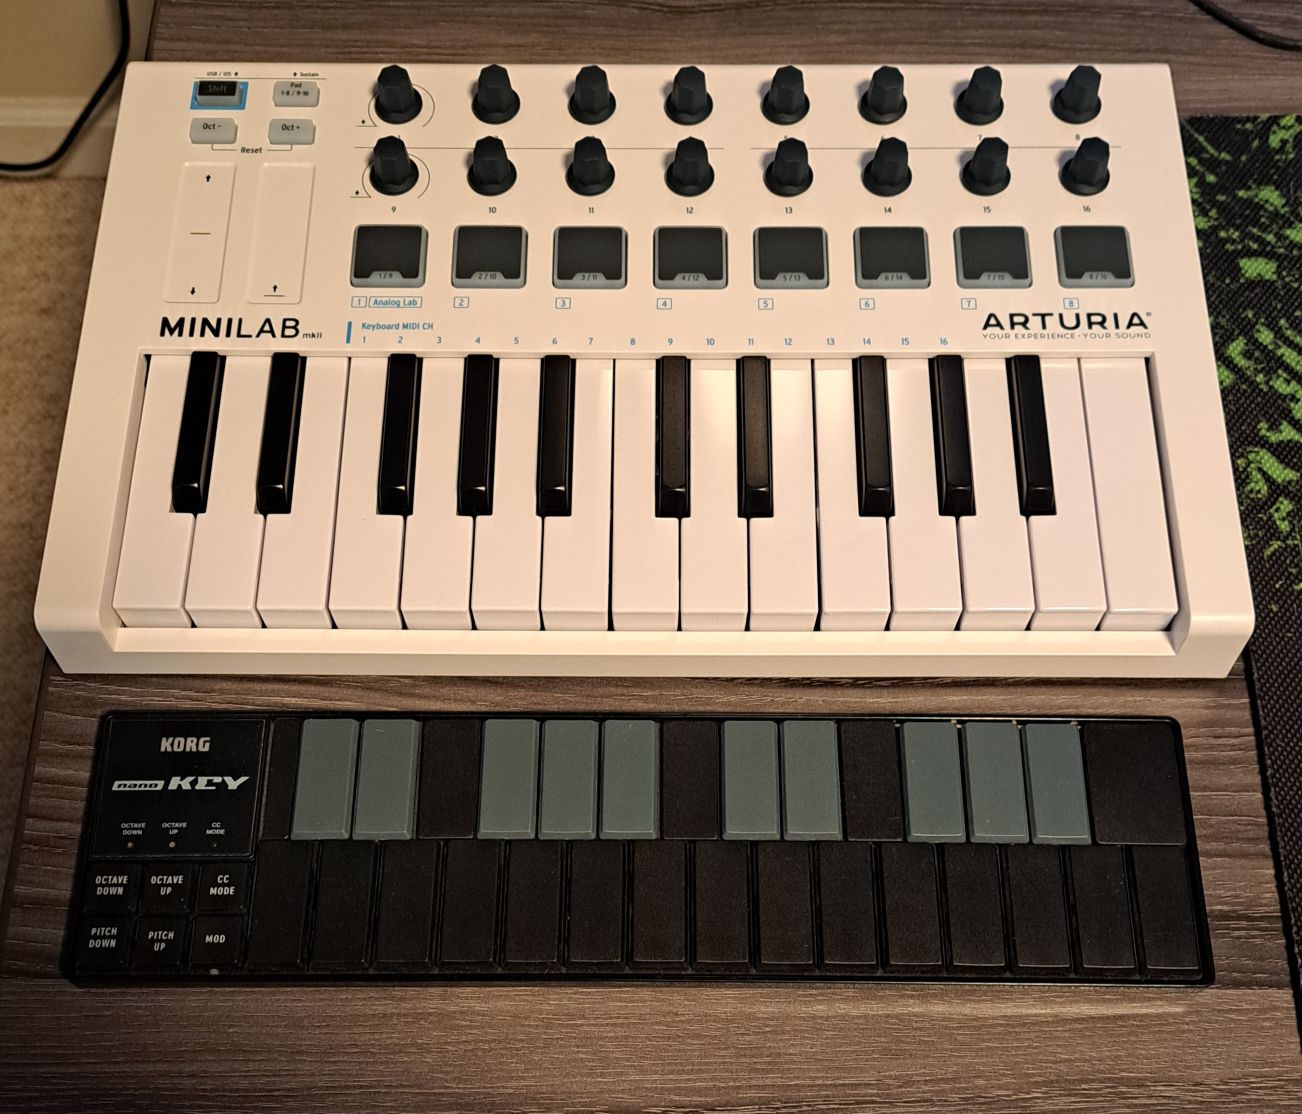
Anyway, Syn9 had also mentioned that he was using a MIDI keyboard as a test board for his projects. This kicked off a thought process where I began to realize I was sitting on a testing/tweaking gold mine. I had picked up an Arturia Minilab II to replace my aging Korg Nanokey, which was never in the greatest condition from day one. The frame was slighly warped, and the keys had a tendency to either stick on the way down, or not register velocity worth a damn (to be fair, the key throw was just a few millimeters, so.... what ya gonna do?).
The Arturia is a much, much nicer piece of equipment.
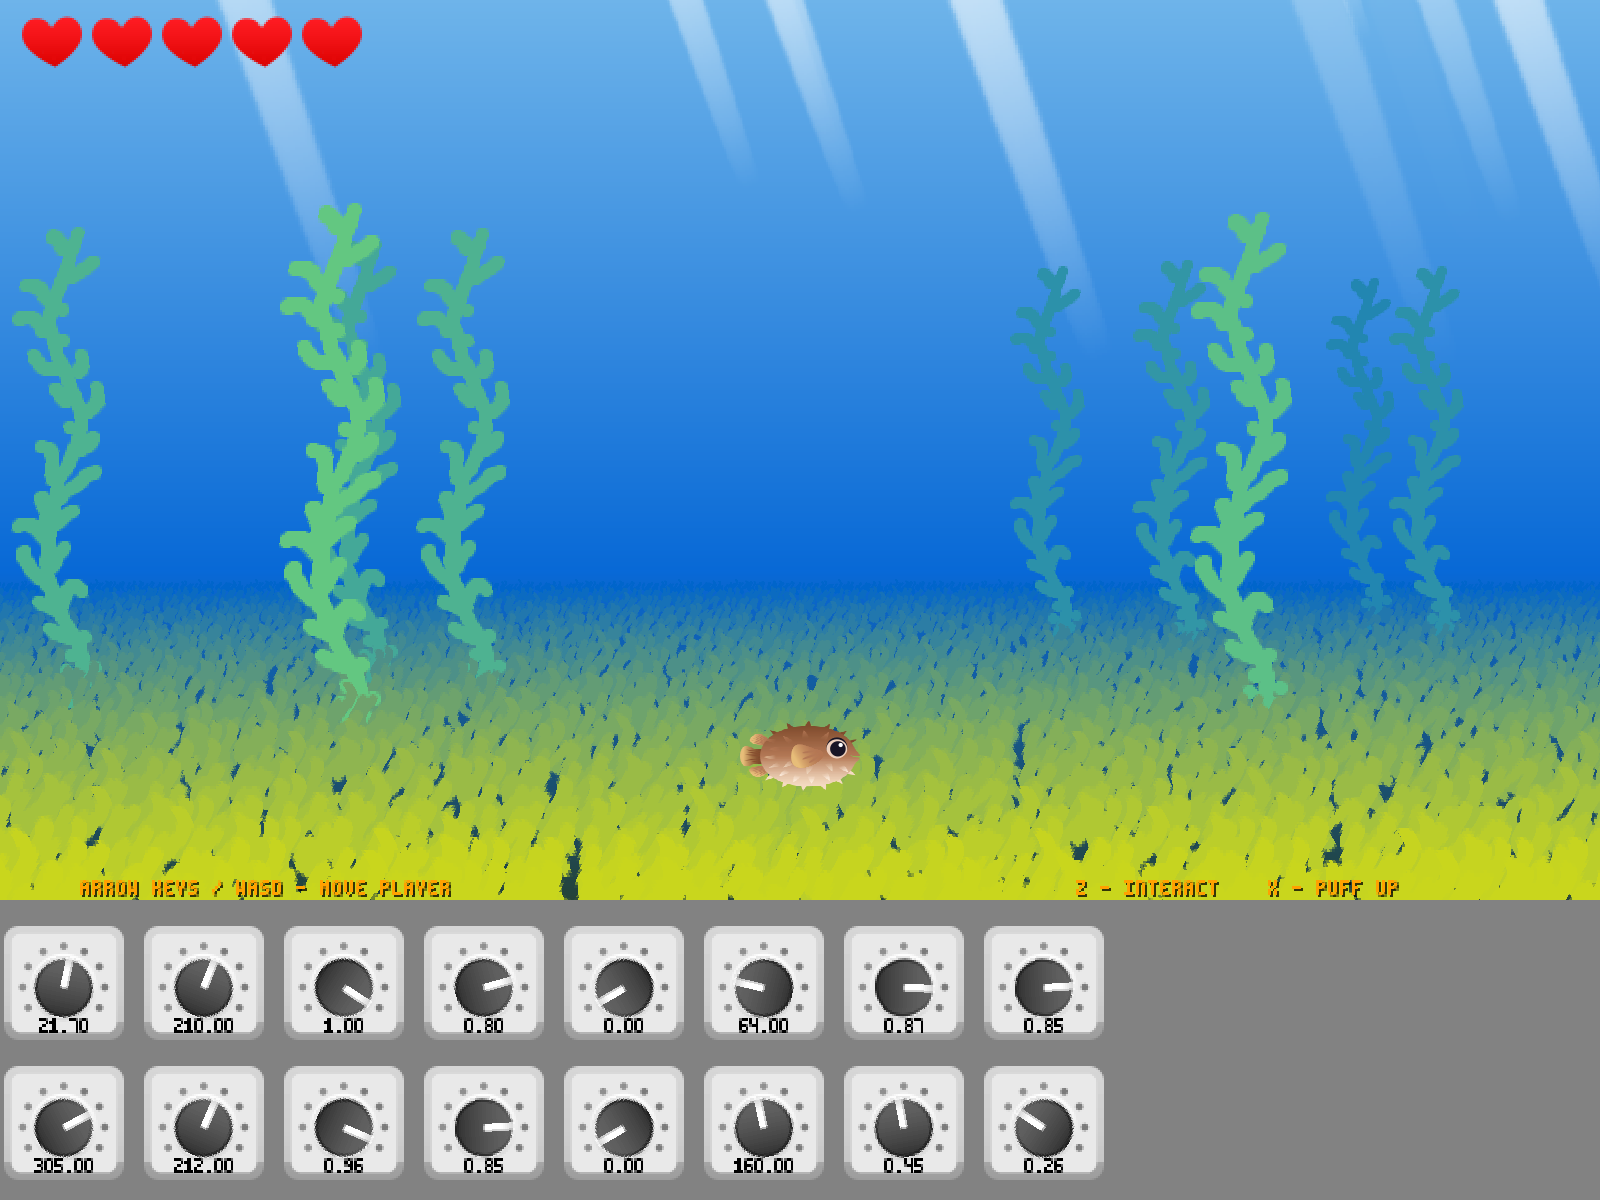
You can see an extra 300 pixels of space at the bottom of the window, which has been added to the window size, and left open for drawing the sixteen knobs. Eventually I'd like to expand it to include the full range of knobs, pads, and sliders. I'd also like to add in room for a short description of each knob's current purpose. That's a simple as adding a string to the structure, and writing it out when the devices are drawn.
Rather than prototyping the whole screen in Moai, as I usually do, I attached the following items to knobs, and played around with them until the scene composition looked just so:
1. Background gradient (2x HSV values) = 6 knobs
2. Foreground sea grass gradient (2x HSV values) = 6 knobs
3. Sea grass position windows (2x Y values) = 2 knobs
4. Horizon position (Y value) = 1 knob
5. Train rotation angle = 1 knob
And I ran with that until such time as I was satisfied with what I saw. The best part was not having to stop and tweak a config file (and have to hotload), or worse, drop back to the code, make changes, recompile, then re-run. I spent a fair amount of time setting up the MIDI interface, and getting some features hammered out, but I consider this a solid investment in time saving for all future projects. I really wish I had considered this years ago -- in fact, just a few months ago I was looking into getting a USB knob for general-purpose hackery. This is far better.
There were, however, some technical concerns that I should point out, and these are not MIDI-specific; they will apply to any rotary or linear encoder.
First up, my Arturia's default profile had all of the knobs set to absolute function (as opposed to relative). This means that a full "rotation" of the knob would produce values between 0 and 127. The knobs themselves do not have a detent (commonly referred to as being "endless") which means they spin freely, and do not feature a hard stop at any position. This is perfectly okay, because you can simple set up the scaling with a routine that maps 0-127 to whatever arbitrary scale you'd like. What I came up with was something like this:
Code: Select all
// NOTE: For absolute scale devices
//
void rescale_midi_device_abs(device_struct &knob, float raw_min, float raw_max, float scale_min, float scale_max)
{
 knob.input = 0;
 knob.mode  = 0;

 knob.value = scale_min;

 knob.r_min = raw_min;
 knob.r_max = raw_max;
 knob.s_min = scale_min;
 knob.s_max = scale_max;
 knob.scale = 1.00;          // Not used

 return;
}
Code: Select all
// NOTE: Basic scaling routine
//       Translates source to scaled
//
float scale(float value, float source_min, float source_max, float scaled_min, float scaled_max)
{
 long double percentage = 0;

 if((source_max - source_min) == 0.000) { return(0); } // If used in framework, log division by zero

 percentage = (value - source_min) / (source_max - source_min);

 return ((percentage * (scaled_max - scaled_min)) + scaled_min);
}
You call this whenever you'd like to rescale a knob, and pass it the desired raw and scaled min/max values. The background stuff I wrote takes care of the rest.
HOWEVER..... the long-term issue is that absolute knobs retain their values between sessions. So if you're playing with a knob, and the results don't end up to your liking, you would need to turn the knob back to its original position in order to start out at the same point in successive test sessions. Not optimal. You *could* get around that by setting up an offset, but then you also run into the problem of not being able to query a knob position over MIDI: you can listen in for events, but you can't poll a knob to see what position it's currently in. Boo, hiss.
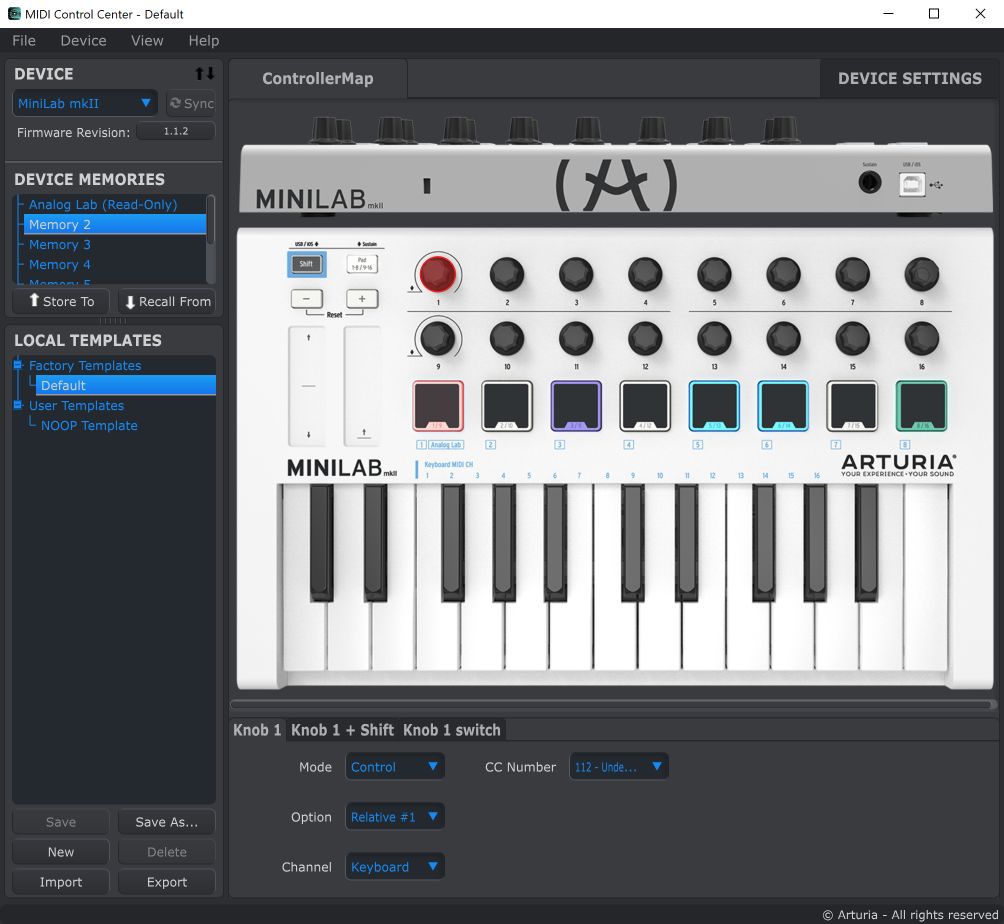
The simple solution is to switch the knobs over to relative operation. This means the knob doesn't have any particular position, and it simply returns a velocity event (+/-) which you have to add to your current "value". This means you are free to re-home the knob any time you want, to any "position" you want. Ultimately, this turned out to be the superior option for me, which lead to me creating a variant of the above code to set a relative mode and scale.
And there you have it; a quick and easy way to tweak values live with sub-100 USD investment. I also wrote a pair of routines to save and load knob/pad/slider values, and a dirty little routine to map the Minilab II's default device assignments so RtMidi would interpret the events properly.
If you want to see a fairly naive implementation of all this, my most recent 4x4x4 entry source includes the full RtMidi code I used. You'll have to provide your own mapping, but this shouldn't be a problem for anyone who hangs out around here
If anyone is interested, I can go into further detail.